In class when we learned about 3-D shapes, we had the opportunity to play with the wood blocks shapes and also the blue plastic shapes. I liked the way we were given a chance to look at all of the shapes, touch them, count the sides, and just have time to play with them. I also really enjoyed the way we were challenged to classify the wood ones, and when we were asked to order the volumes from smallest to largest before filling the blue ones with water to compare the volumes. Those are both things that I would love to use in a classroom someday! The mystery shape game was great as well. We did some really great activities in class with 3-D shapes that I'd like to use later on.
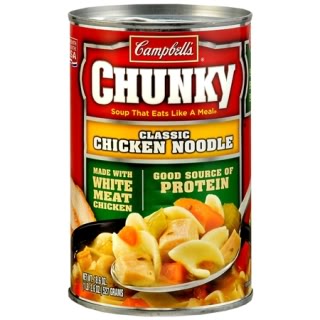
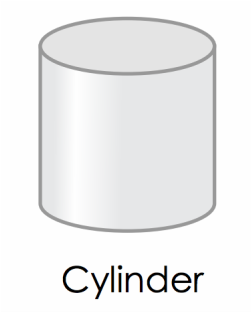
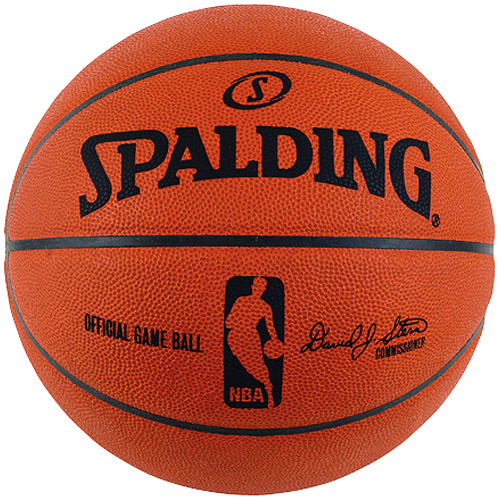
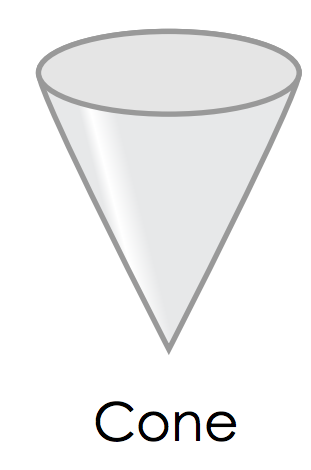
I think that a good way to teach 3-D shapes to students would be to show them where they see the shapes already in their everyday lives. After teaching them the properties of the shapes, I would show them examples like these and ask which of the shapes they look like. | A soup can... | ...is a CYLINDER.
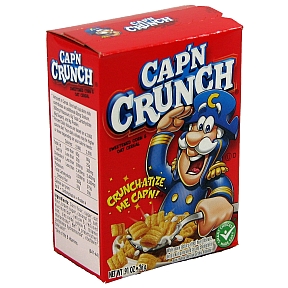
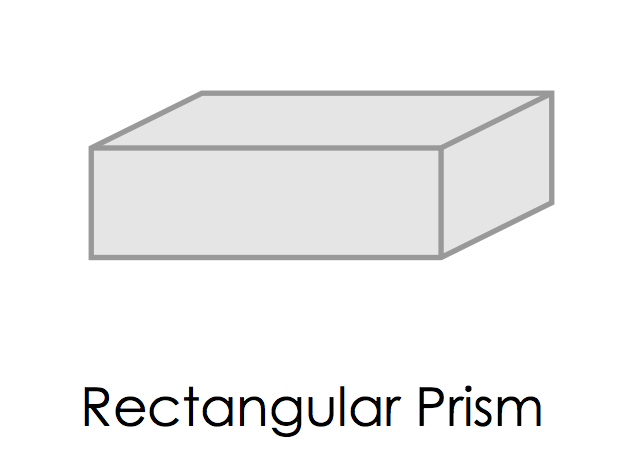
| A CYLINDER is a solid object with two identical flat ends that are circular or elliptical, and one curved side. Many cans of food in all shapes and sizes are cylinders, but other things such as a footrest could be a cylinder. | A cereal box... | ...is a RECTANGULAR PRISM. | A RECTANGULAR PRISM is a solid 3-D object which has six faces that are rectangles. Many boxes are rectangular prisms, but so are other things like books, mattresses and boards, to name a few. | A basketball... | ...is a SPHERE. | A SPHERE is a 3-D object shaped like a ball. It is perfectly round, and every point on the object is the same distance from the center. Tennis balls, soccer balls, oranges, and globes are all spheres. | A party hat... | ...is a CYLINDRICAL CONE | A CONE is a solid 3-D object that has a circular base and one vertex. A party hat is shaped like a cone, and so is an ice cream cone. Reflection: I found that certain shapes were much more difficult to think of examples for than others. I also realized that when teaching about 3-D objects in this way, by relating them to everyday items, it is important to clarify to students the difference between something that is a solid versus something that just looks similar to the shape. For example, a party hat is not solid, and does not actually have a circular face on the bottom. This may be confusing to students if you do not clarify the difference between these. It is okay to say that it looks similar to the object, but it is important when talking about the definitions of the 3-D shapes to clarify that.
I think that a worksheet could be made up where students could fill in the blank under a picture of an object, saying what shape the object is. I also think that students could be challenged to go home and write down, take pictures of, or even bring to class objects they found that looked like the shapes. The definitions for the shapes that I gave came from the website, Math is Fun. This website has lots of links, including a dictionary of mathematical terms simple enough for students to understand. The website could be used as a resource in the classroom in multiple ways. Here is the link: http://www.mathsisfun.com/index.htm
In class last week we read a book and talked about the math concepts that could be found in the book we were reading. It is important as a teacher to recognize these connections and be able to use them in the classroom. If a book teaches math, students will be learning math skills while at the same time developing their reading, listening, and comprehending skills. At the same time, if there is a story to go along with concepts like addition, students are probably going to be much more likely to retain the knowledge they learn about the concept. That seems to be much more beneficial than simply handing students a worksheet.
So, I decided to look into what other books could be used in elementary classrooms to teach math concepts.
Here were some of my favorites: Five Little Monkeys Jumping On The Bed, by Eileen Christelow.
This was one of my favorite books growing up! In this book there is repetition and pattern in the words, and there is also subtraction involved. They start out with 5 monkeys on the bed, and one falls off of the bed and bumps his head and has to go to the doctor. Then there are 4 monkeys, and one falls off the bed....you get the picture. The monkeys continue to fall off the bed, one after another, and each time one falls there are less of them left on the bed. This book displays subtraction in a manner simple enough for children to understand, and very subtly. At the same time is a good book and a favorite to many children because of the repetition of words and the predictability of the story. Even very young children can catch on to this book quickly because of the repetition! The Very Hungry Caterpillar by Eric Carle
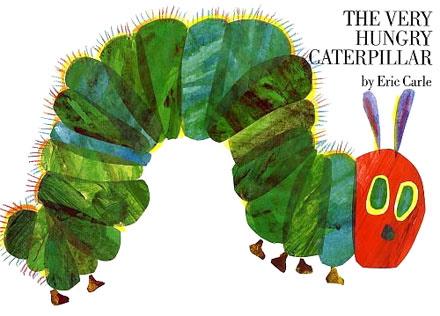
Once again, one of my childhood favorites! This one is especially fresh in my mind because the 3 year old I nanny for has been asking to read this one a lot lately. In this book, the caterpillar starts small but eats his way through food item after food item(and some non-foods) until he is a fat caterpillar ready to become a butterfly. Along the way he eats through multiple numbers of certain foods, making this book very good for addition and counting. Also, the book has holes in the pages though each of the food items, which children find fascinating. This book is very good for addition and counting!
Reflection: This post was not so much about doing math, but more about finding math in things that already exist. I found many other children's books that involved math, but decided to only write about these two for now. It was cool to see how math is so much more present than we realize. These books were two of my favorites growing up, but at the time I would have never thought about what math skills I was learning from the book. They were just books that were easy to read. I think it is very important for teachers to teach math using books some of the time for younger grades in elementary at least because it not only makes it more interesting, but it puts the numbers in more context of real life situations some of the time. This helps students to be able to categorize and interpret the information better, and it probably helps them to retain it as well!
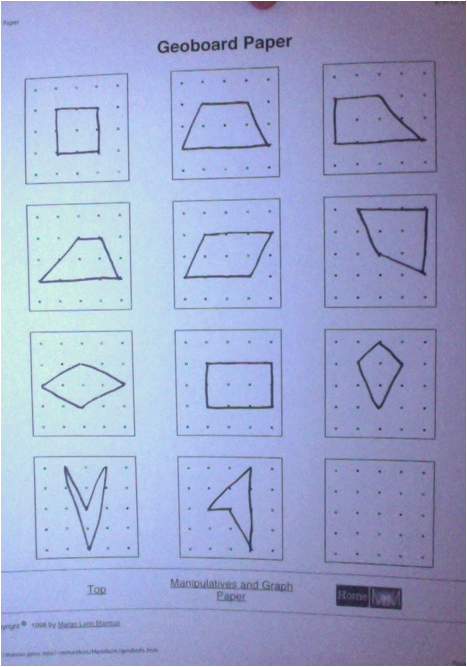
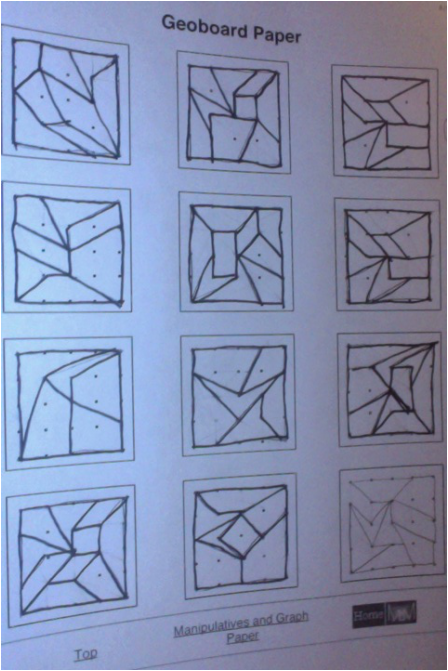
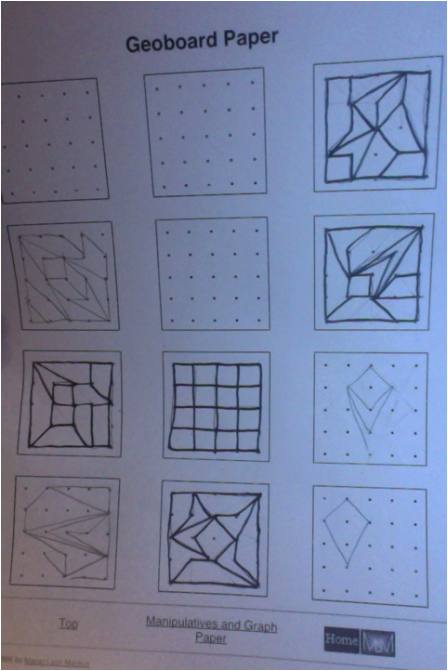
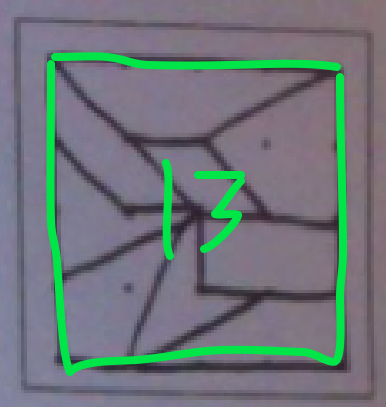
For the past couple of classes we've been talking about quadrilaterals. There are 11 different main types of quadrilaterals we discussed in class, as shown below. For SBG #2 question #7, it said to divide up a Geoboard into four or more different types of quadrilaterals. I not only took this as a challenge to fit as many quadrilaterals as possible on the Geoboard, I challenged myself to represent as many different shapes as possible. These were some of my attempts to fit as many different quadrilaterals onto one Geoboard as possible.
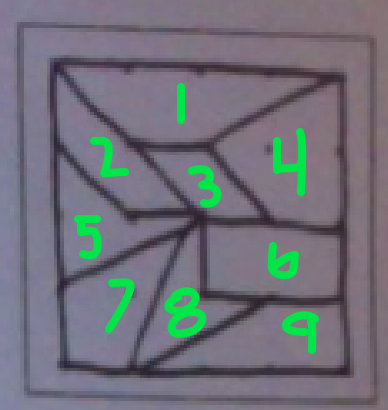
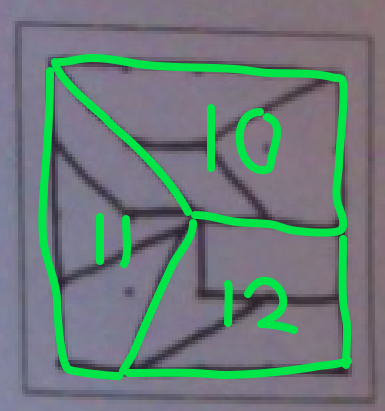
In the end, this was the division I was the most confident in. It is divided up into 9 separate quadrilaterals, which is the most I could fit on one without repeating any of the shapes. Here we have 13 found quadrilaterals, as identified with numbers. At first it only appears to have 9, but a second glance shows there are more quadrilaterals on the Geoboard. This involves combining some of the smaller quadrilaterals to form larger ones. | | The quadrilaterals represented are:
In the original 9:
1. irregular trapezoid
2. regular trapezoid
3. parallelogram
4. general quadrilateral (convex)
5. general concave
6. rectangle
7. kite
8. chevron
9. right trapezoid The others:
10. right trapezoid
11. general quadrilateral
12. right trapezoid
13. square
|
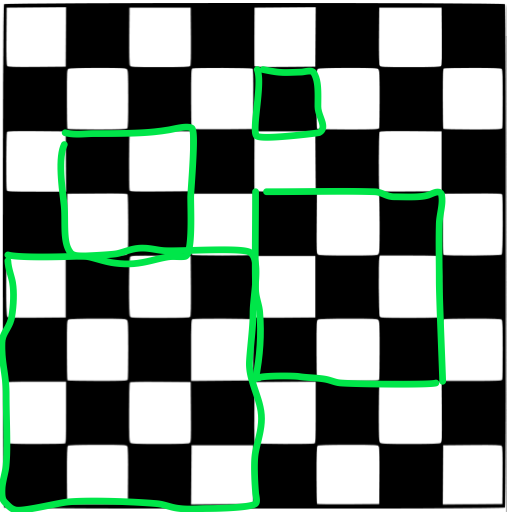
This is similar to the old chess board trick. Someone will ask, "How many squares are on a chess board?" And a person will generally count them up, counting 64 total. But they forget to count all of the combinations of squares that make larger squares! I found a website on this, giving ideas of how to use this principle in the classroom. Looks like it could be useful! Here is the website. http://www.teachingideas.co.uk/maths/chess.htm | |
Reflection: This activity had me thinking about quadrilaterals for a longer time than I wanted to. Trying to divide up the Geoboards into as many quadrilaterals as possible, without repeating any, was frustrating. There were many more trials and errors than what was even shown on the two worksheets. Lots of erasing lines and redrawing them, I wasn't going to settle for there being spaces left over or just putting in a big shape where smaller ones could fit! Over all I enjoyed this. It was fun to explore the different combinations and figure out which shapes fit together best, whether it was smarter to put the points toward the middle or the corners, etc. I learned a lot about quadrilaterals and I don't think it will be easy for me to forget the different types ever again! Also I realized how much teaching potential there was for this. Lots of lesson plan possibilities to be centered around quadrilaterals.
Also, because I spent to much extra time on this, it was the weekly work for both 7 and 8. I would also like for this one to be considered for the SBG grade...because the question came straight from it!
During our first week of class, we talked a lot about patterns. I decided to look into the different types of patterns that exist. When I looked up "different types of patterns" on the internet, I found an entire glossary of definitions for patterns of all sorts. But I decided then to focus on patterns that I would want to teach about in the classroom, and I started making a lesson plan of sorts. I haven't made many of these, so I have no idea if this lesson would be stretched over multiple days or just a single lesson.
Two easy patterns to focus on are repeating patterns and growing patterns.
Pattern — a set of recurring events or objects
Repeating pattern — a type of pattern in which elements repeat in a simple manner (ex. boy, girl, boy, girl, boy, girl)
Growing pattern — a type of pattern in which successive elements grow according to a rule
(ex. 1, 2, 4, 7, 11, 16…)
1. Finding Patterns
I'd begin the lesson by having the students pick out patterns in the room—floor or ceiling tiles,
wallpaper, or clothing, for example. I'd then ask students:
...explain what a pattern is and what it is not.
...what other patterns are always present in our lives? [days in a week, months in a year, the seasons]
2. Making Patterns
Then we'd jump into the next section... making patterns! I'd ask a few students to come up to the front, line up in a row, and have the whole class try to make patterns with the students standing in the line. They might pick out physical characteristics (long hair, short hair, long hair, short hair; boy, girl, boy, girl) or movement (standing, sitting, standing, sitting). Then the students would be split up into groups and asked to create a simple pattern on their own with the people in their group. Each group would be given an area of the room to work with in order to generate their own creative “people patterns.” These would be presented in front of the class after the groups have time to make the patterns.
3. Color and Shape Patterns
The real meat and potatoes starts here...this is where we get the students really thinking critically about patterns. I would draw two patterns on the board or put them up on an overhead screen, and have the students try to predict what would come next in the pattern. The patterns might look something like this...
Then I would show them a growing pattern, like this. I'd explain that the first two color patterns they saw, and (probably) all of the people patterns they made are called repeating patterns. Pattern #3 is a new type of pattern, called a growing pattern.
4. Number Patterns
Next I would introduce number patterns. Instead of using colored dots, I would exchange those for numbers and have them see those as patterns.
For example, here are some repeating number patterns:
1, 2, 1, 2, 1, 2, 1, 2...
1, 3, 3, 1, 3, 3, 1, 3, 3, 1…
And some growing number patterns:
1, 2, 4, 7, 11 ,16, 22…
1, 1, 2, 6, 24, 120, 720…
Students can create their own growing patterns and switch with a partner to figure out what
numbers come next.
Reflection:
I think that this lesson would work well, and starting off with a way to make patterns that uses their bodies would help to make the lesson fun. What I am not so sure about is how long each of these things would take. I would love to do them all in a row, because they progress, but it seems after going through that it would be more of one lesson per day progression. It might not work as is because of time constraints. I think that this would be a good way to ease students into finding patterns with numbers as well.
|


 RSS Feed